Scheduled Reports with RecFind 6
Scheduled reports in RecFind 6 are a simple and easy way to get current information to the right people on a regular basis. Scheduled reports can be delivered to a staff member’s mail box in a range of formats including an Excel spreadsheet or a PDF.
There are three components required to schedule a report:
1. Saved Search
2. RecFind Mailing List
3. Report Template
Creating a Saved Search, a RecFind Mailing List and a Report Template is done in the RecFind 6 client, configuring the scheduling of the report is done in the RecFind 6 DRM.
1. Creating a Saved Search
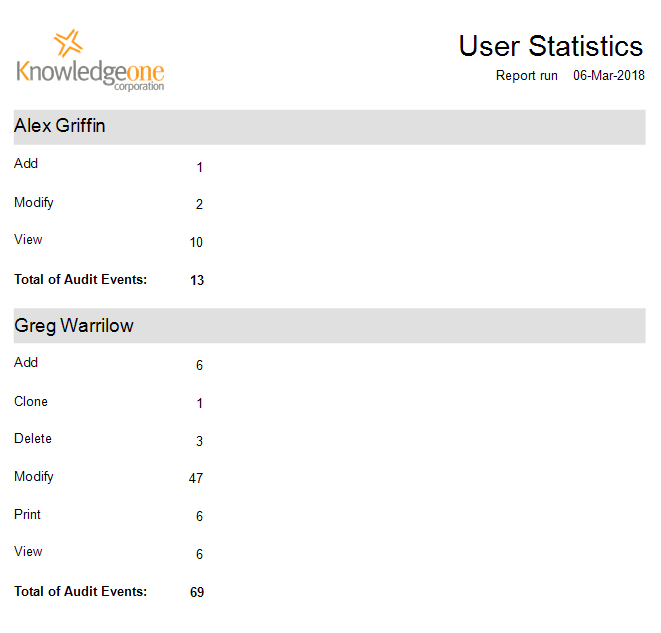
In the following example, a monthly User Statistics report will be created using the Audit Trail table and then mailed to a group of staff members at a predetermined time and interval.
Select the Audit Module:

Select the Search function button:

Select the Boolean search:
To select only those audit records from the last month, use the following process:
- Highlight the Date field.
- Select the System Variable radio button.
- Select the System Variable of CURRENT_DATE.
- Select the Boolean operator of AND.
- Select the Boolean symbol of <=.
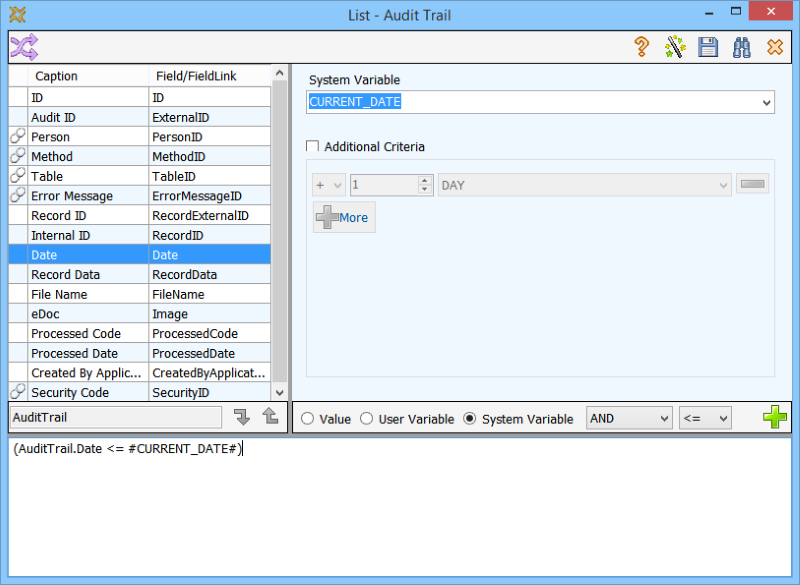
- Select the Add function Button.
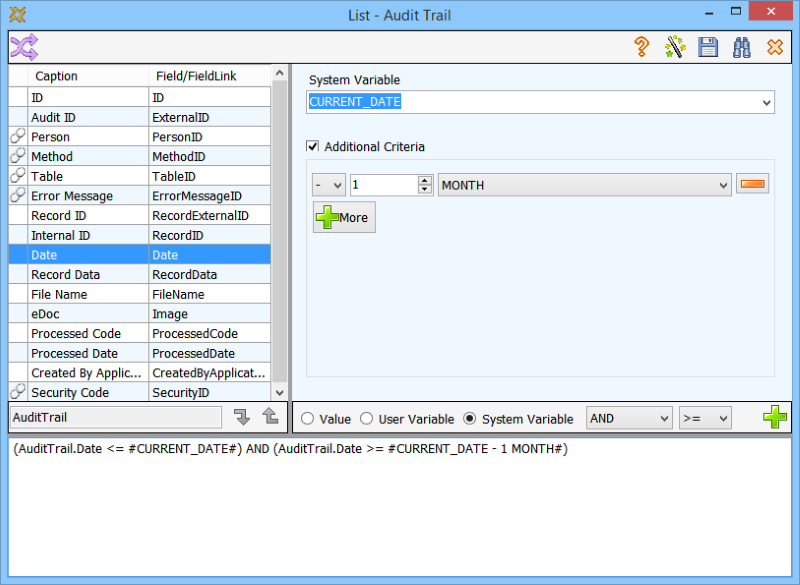
- Tick the Additional Criteria check box.
- Select minus (-) 1 MONTH.
- Select the Boolean operator of AND.
- Select the Boolean symbol of >=.
- Select the Add function button.
Click the Search function button:

Once the search results have been verified, save the search by selecting the Search function button.

Select Save Search:
Enter a suitable name for the saved Search.
Select the save icon:
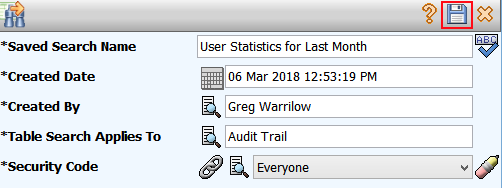
The Saved Search can now be run at any time and can also be used when scheduling a report.
2. Creating a RecFind Mailing List
The next component required to schedule a report is a RecFind 6 Mailing List.
The RecFind Mailing List can be managed by using the 'Any Table' Search in the Search Module, then selecting the Mailing List table. Alternatively, your RecFind Administrator will be able to configure a menu item on the Maintenance Module dropdown which will give you easy access to the mailing list functionality.
The RecFind Mailing List allows multiple people to be added and uses the work email field in the Person table.
Select the RecFind Mailing Lists menu item:

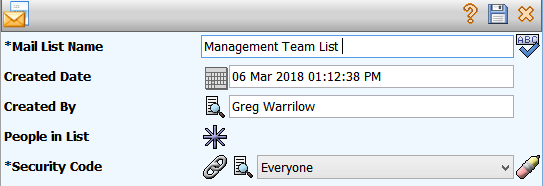
Select the Add function button:

Enter a name for the Mailing List:
Click the 'People in List' link:
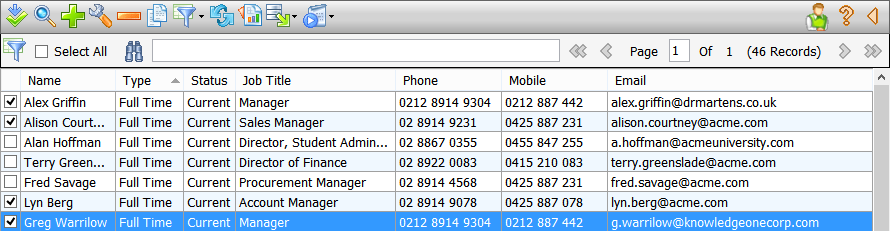
Tick the check box on the left hand side of the people to be added to the mailing list.
Click the Select function button:

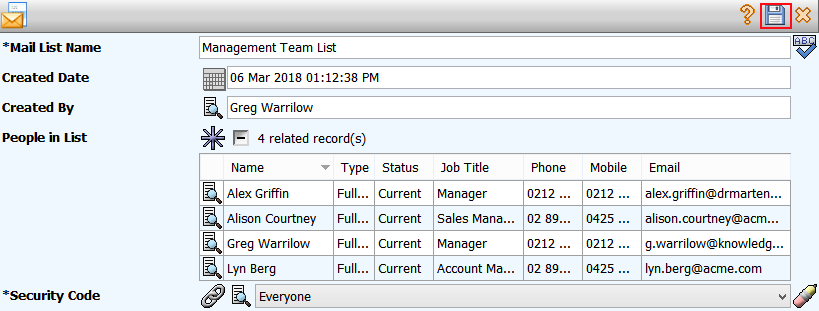
The selected people will now be displayed as being on the Mailing List.
Select the Save icon:
3. Scheduling a Report
Log on to the DRM. You must be a RecFind Administrator to log on to the DRM.
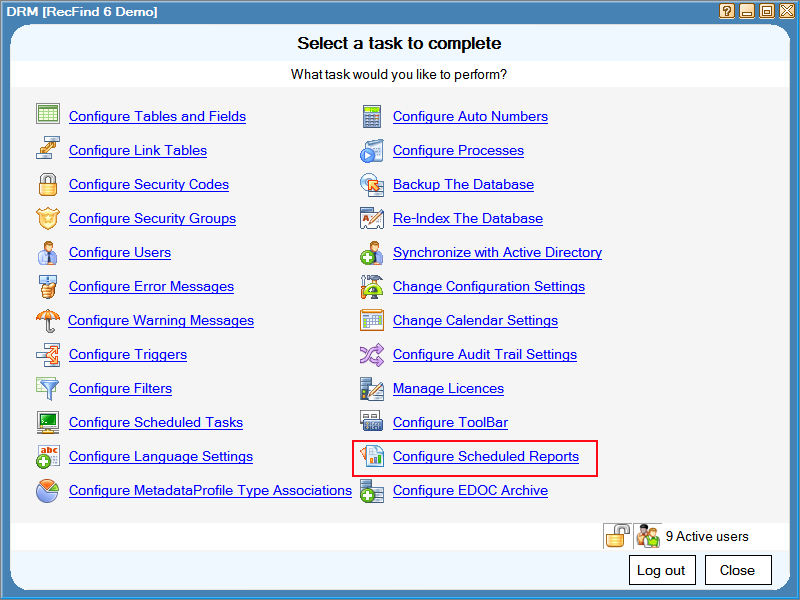
Select Configure Scheduled Reports, then select the Add function button:
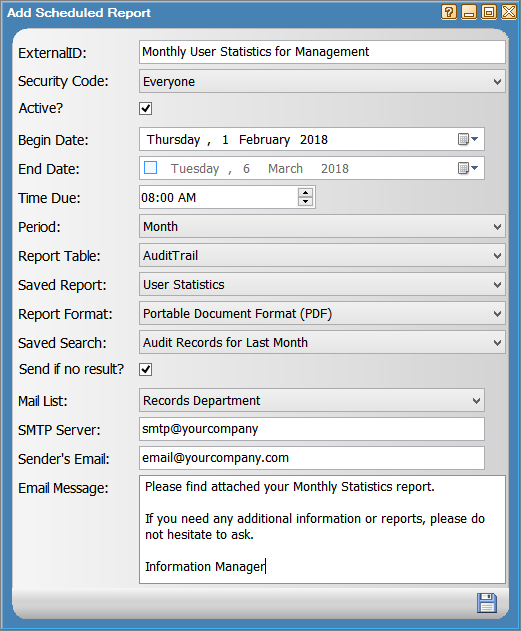
- Enter a name for the Schedule Report profile.
- Select the relevant Security Code.
- Tick the Active check box to ensure the Scheduled Report runs. If the Active check box is not ticked, the scheduled report will not run.
- Enter a Begin Date if a future date is required, otherwise todays date will be auto populated.
- Select an End Date if the Scheduled Report is only required to run for a defined period of time. If the End Date check box is unticked, the scheduled report will run indefinitely.
- Enter the Time Due that the report is to run.
- Select the frequency the Scheduled Report will run from the Period dropdown.
- Select the table in which the report will run from the Report Table dropdown.
- Select the Saved Report template that is required. This could be a standard RecFind 6 report, or one that has been written using the RecFind 6 report writer. Only reports that relate to the selected Report Table will be displayed in the dropdown.
- Select the output format of the Scheduled Report from the Report Format dropdown.
- Select the relevant search from the Saved Search dropdown. Only searches that related to the Report Table will be displayed.
The Send if no result? check box means that a report will be emailed even if there is no data returned from the saved search. This is a great way to ensure the scheduled report is running correctly.
- Select the Mail List to be used for the Schedule Report.
- Enter the SMTP Server name. Your IT staff will be able to provide this.
- Enter the Sender's Email address. The email address has to be valid and cannot be a made up address. This is the email address that will appear in the From field when the email is delivered.
- If required, enter a message in the Email Message field. This will appear in the body of the email when received by members of the RecFind Mailing List used.
- Select the Save icon:
At the scheduled date and time an email will be sent to each staff member in the RecFind Mailing List with the report attached in the format previously selected, in this example a PDF.
Questions? If you have any questions please contact the support department and we'll be more than happy to help.